Guide to Connect AirPods Pro to Windows Laptop in 2024
Introduction
AirPods Pro are a sought-after choice for wireless earbuds, famed for their active noise cancellation and excellent sound quality. While they connect effortlessly with Apple devices, linking them with a Windows laptop can pose some challenges. This comprehensive guide will walk you through the steps needed to connect your AirPods Pro to a Windows laptop in 2024, enabling you to enjoy crystal-clear audio across different devices. Whether you’re looking to blast your favorite tunes or hop onto a meeting call, by the end of this article, you’ll be ready to pair your devices seamlessly.

Prepare Your Devices for Connection
First, it’s crucial to prepare both your AirPods Pro and Windows laptop for a smooth connection. Start by making sure your AirPods Pro are fully charged. A low battery can hinder the pairing process and reduce performance efficiency. Charge your AirPods by placing them in the charging case and connecting the case to a power source with a Lightning cable. During this time, ensure your Windows laptop is updated with the latest Windows version. This could involve checking for system updates that include necessary Bluetooth enhancements.
Next, verify your laptop’s Bluetooth capabilities. Many modern laptops feature integrated Bluetooth, but if your device doesn’t include it, consider purchasing a USB Bluetooth adapter. Finally, make sure your laptop’s Bluetooth is turned on and discoverable for pairing. If you’re unsure about activating Bluetooth or need extra help, the next section will provide a detailed step-by-step guide.
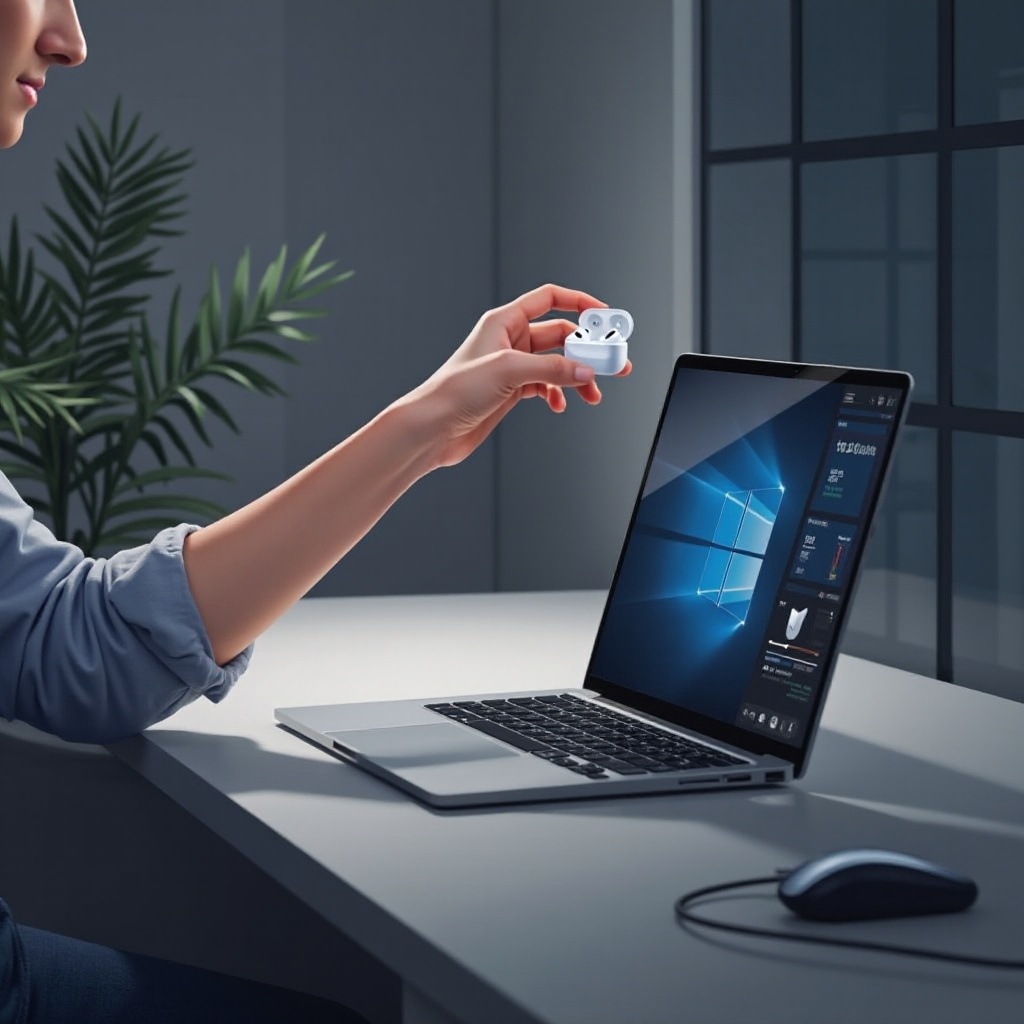
Step-by-Step Guide to Connecting AirPods Pro to Windows
Having prepared your devices, it’s time to dive into the connection process, which we’ve broken down into manageable steps.
Turn on Bluetooth on Windows
- Open the Start menu and access Settings.
- Select Devices and then choose Bluetooth & other devices from the sidebar.
- Toggle the Bluetooth switch on if it’s off. Ensure it indicates “Now discoverable as [your computer’s name].”
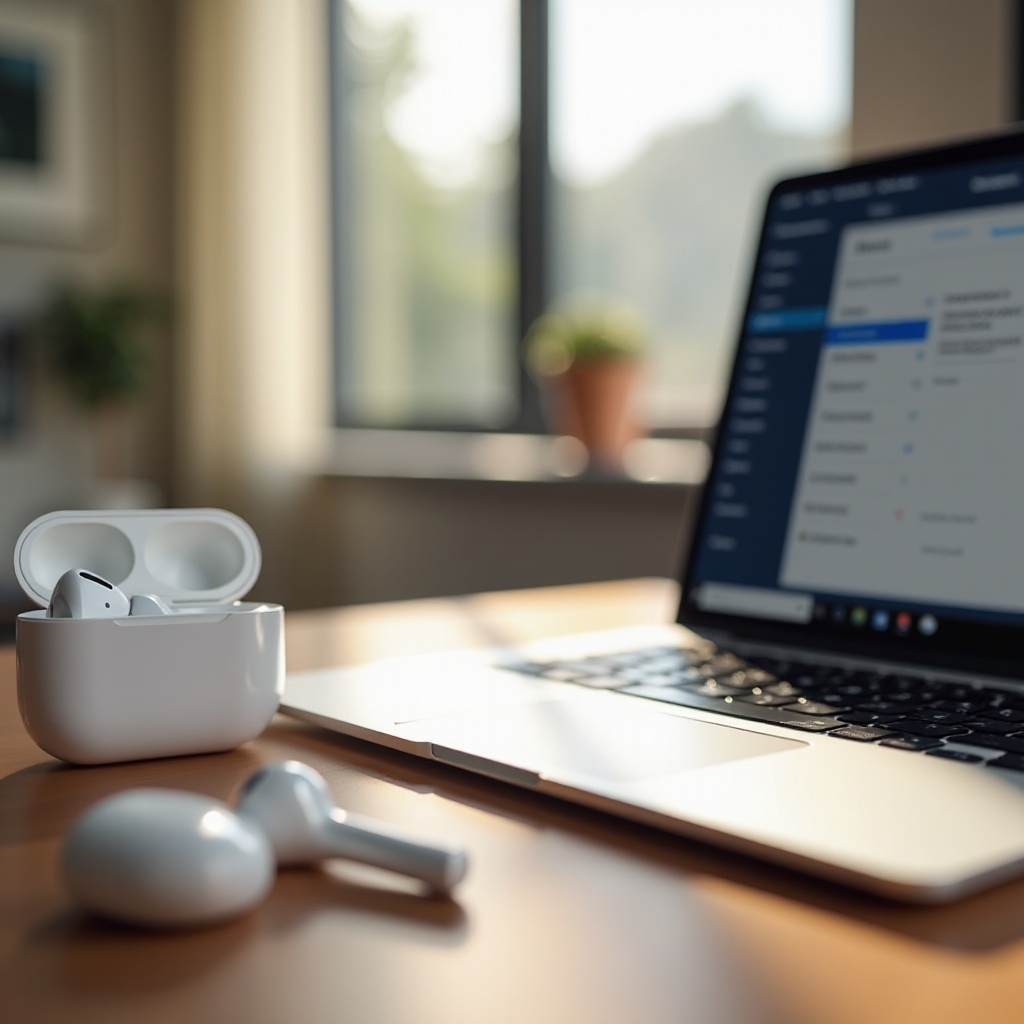
Pair AirPods Pro with Windows Laptop
- Open the lid of your AirPods Pro case without removing the earbuds.
- Press and hold the setup button on the back of the case until the LED light blinks white.
- On your Windows laptop, navigate to Add Bluetooth or other device in the Bluetooth settings.
- Select Bluetooth and pick your AirPods Pro from the device list. Wait for the connection to be established.
Verify Successful Connection
Once your AirPods Pro are paired with your Windows laptop, play a test sound or video to verify audio outputs correctly through your AirPods Pro. If successful, you’re set to indulge in wireless audio with your laptop.
Optimize Sound Quality and Performance
After establishing the connection, you’ll want to optimize sound quality and ensure peak performance with some practical tips.
Adjust Audio Settings on Windows
- Right-click the sound icon in the taskbar and select Open Sound settings.
- In the output section, confirm your AirPods Pro are chosen as the default output device.
- Click Device properties and utilize the Enhancements tab to tweak bass boost or equalization settings per your preference.
Manage Connection Preferences
To ensure a smooth audio experience, manage Bluetooth settings carefully:
1. Keep your laptop’s Bluetooth driver current by visiting its manufacturer’s site for updates.
2. Maintain optimal proximity between your AirPods Pro and laptop to avoid connection dropouts. Minimize obstructions or interference from nearby devices.
3. Set your AirPods as the default sound device for streamlined connections each time.
Troubleshooting Common Issues
Despite efforts, problems may arise. Here are solutions to common issues for maintaining a robust connection.
Resolve Bluetooth Pairing Problems
If pairing issues occur:
– Ensure AirPods Pro are charged and in range.
– Restart both the laptop and AirPods.
– Remove the AirPods from the Bluetooth device list and attempt to reconnect.
Fix Sound Quality Issues
Experiencing sporadic sound or delays?
– Ensure no applications are taxing your laptop’s processor excessively.
– Clear Bluetooth cache by navigating to Settings > Devices > Bluetooth > Remove Device, then reconnect.
– Reduce distance between your AirPods and laptop if audio degrades due to range.
Conclusion
Connecting your AirPods Pro to a Windows laptop in 2024 is straightforward with the right preparations and these detailed steps. By following this guide, you’ll have access to wireless convenience across different platforms. From connecting without hassle to optimizing sound settings, you now possess the knowledge to fully harness the potential of your AirPods Pro with your Windows laptop.
Frequently Asked Questions
Can I use AirPods Pro with non-Bluetooth Windows laptops?
You can connect AirPods Pro to a non-Bluetooth laptop using a Bluetooth USB adapter.
Why do my AirPods Pro keep disconnecting from my Windows laptop?
Disconnections may arise from outdated drivers, long distance from the laptop, or device interference. Keep software up to date and ensure optimal range.
How can I improve the battery life of my AirPods Pro when connected to Windows?
To boost battery life, disconnect AirPods when idle, keep them charged, and limit usage of power-draining features like noise cancellation.