How to Load Windows 7 from USB: A Detailed Guide
Introduction
Installing an operating system from a USB drive offers unmatched convenience and speed. For devices lacking an optical drive, this method is essential. This guide addresses how to load Windows 7 from a USB drive seamlessly. Whether upgrading, troubleshooting, or doing a fresh install, mastering this process is extremely beneficial. We’ll cover preparation, bootable USB creation, BIOS configuration, installation, and tips for achieving a trouble-free journey.
Why Load Windows 7 from USB?
Choosing to load Windows 7 from a USB drive has numerous advantages. Notably, USB installations are quicker than DVDs and are ideal for newer devices that don’t include optical drives. Additionally, a USB installation is portable and straightforward, allowing you to carry essential installation files anywhere, usable on any compatible computer.
Prerequisites for Installing Windows 7 from USB
Before starting the installation process, proper preparation is crucial. Here’s what you need to do:
Gather Necessary Materials
- A USB drive with a capacity of at least 8GB.
- A Windows 7 ISO file or installation disc.
- A computer with internet access for downloading needed software.
Backup Important Data
Always ensure to backup all critical files before proceeding with installing a new operating system. This step safeguards against data loss caused by unforeseen issues during installation.
Ensure Hardware Compatibility
Check if your system’s hardware meets Windows 7 compatibility standards. Verifying requirements like RAM, CPU, and disk space can prevent potential installation problems.

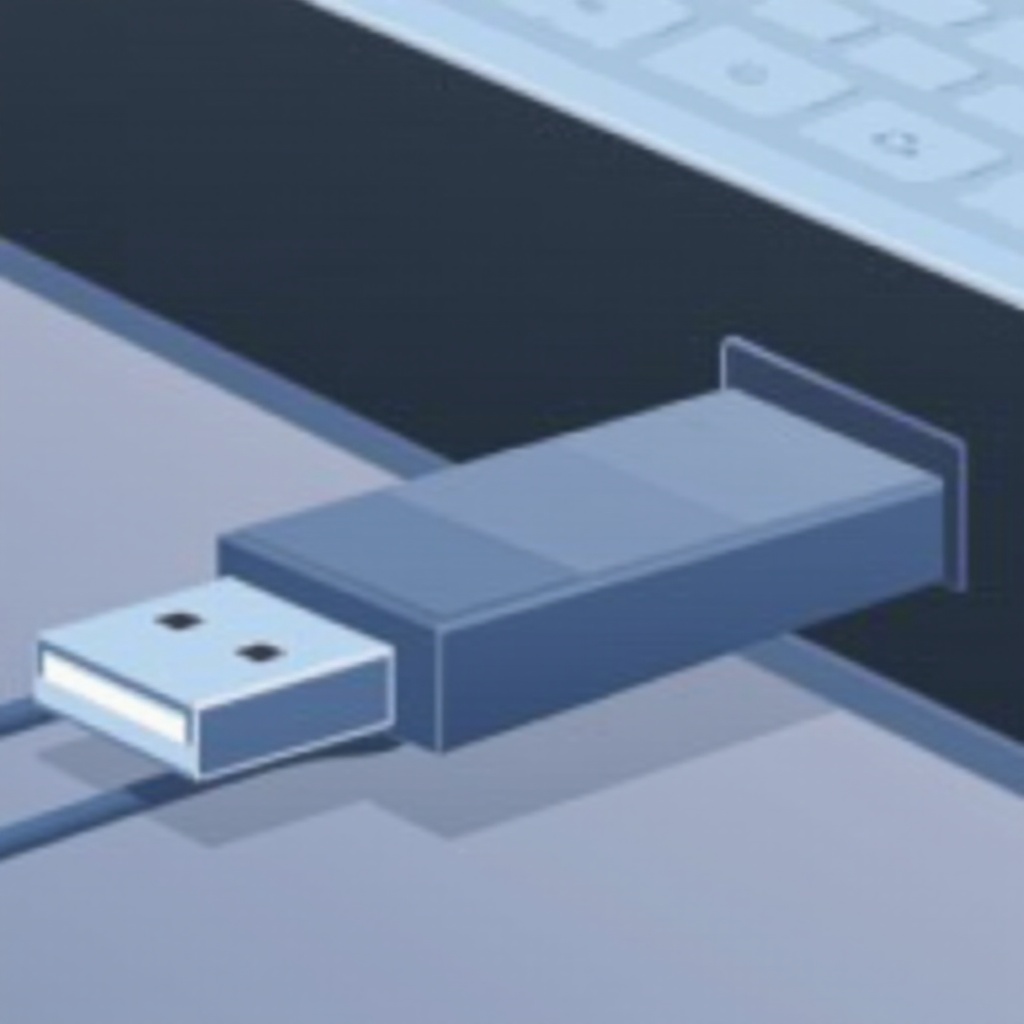
Creating a Bootable Windows 7 USB Drive
Creating a bootable USB drive is a simple yet vital step in the process. Follow the steps below to prepare your USB drive:
Downloading the Windows 7 ISO File
Make sure you have a legitimate Windows 7 ISO file. If not available, you can opt to download it legally from Microsoft’s official website or use your installation disc to create one.
Using Software to Make USB Bootable
- Install a popular tool such as ‘Rufus’ or ‘Windows USB/DVD Download Tool.
- Insert your USB drive and launch the software.
- In the software interface, select your USB drive.
- Choose the Windows 7 ISO file.
- Initiate the bootable USB creation process, which should complete within minutes.
With this, your USB is now prepped for Windows 7 installation.
Configuring BIOS/UEFI Settings to Boot from USB
For your computer to boot from the USB drive, BIOS or UEFI settings need to be configured correctly.
Accessing Your System’s BIOS/UEFI
Restart your computer. During the initial startup, press the designated key (common options are F2, F10, Delete, or Esc) to enter BIOS/UEFI settings. Refer to your computer’s manual for the exact key if needed.
Changing Boot Order
Once inside BIOS/UEFI:
- Navigate to the ‘Boot’ menu.
- Adjust the boot order so USB devices are prioritized over internal hard drives.
- Save your changes and exit.
This configuration ensures your computer boots from the USB drive upon restart.
Installing Windows 7 from USB Drive
After configuring your system, you are ready to proceed with the installation.
Initiating the Installation Process
- Insert your bootable USB drive into the target computer.
- Restart the computer—and if configured correctly, it should boot from the USB.
- As the Windows 7 setup screen appears, select your preferences and click ‘Next.
Navigating Key Installation Settings
- Press ‘Install Now’ to begin.
- Decide between ‘Upgrade’ or ‘Custom’ installation according to your needs.
- Choose the partition for installation. Format if required.
- Adhere to the prompts to complete installation.
While the process can take time, with multiple reboots, patience and following the steps precisely ensure all system requirements get installed correctly.
Post-Installation Steps
Post-installation actions are necessary for optimal system performance.
Installing Drivers
Install crucial drivers for all connected hardware devices. Visit the manufacturer’s website for the latest drivers or use a driver installation disk if available.
Applying Essential Updates
Run ‘Windows Update’ to download and install any vital updates. This practice secures your system with the latest patches and enhancements.
Common Issues and Troubleshooting
While issues might arise, many can be resolved with straightforward actions.
USB Not Recognized
If your system doesn’t recognize the USB, reinserting it and checking BIOS settings often resolves the issue. Trying different USB ports can also help.
Installation Errors
Ensure the ISO file is intact and verify the bootable USB creation process. If errors continue, recreating the bootable USB may solve the problem.
Solutions for Common Problems
Should the installation stall or errors surface, assure hardware compatibility and assess your installation media for issues. Consider re-downloading the ISO file if corruption is detected.

Conclusion
Installing Windows 7 from a USB drive is efficient and user-friendly when the recommended steps are followed. With a properly prepared bootable USB drive, you can install or reinstall Windows 7 on any compatible computer, ensuring a smooth and trouble-free installation process.
Frequently Asked Questions
Can I use a USB 2.0 drive to install Windows 7?
Yes, USB 2.0 drives are compatible, although using USB 3.0 may expedite the installation process.
Is it possible to install Windows 7 from USB on any computer?
While most computers accommodate USB installation, verifying BIOS/UEFI compatibility and boot settings is recommended.
What should I do if my computer doesn’t boot from the USB?
Check your BIOS settings to confirm USB is set as the first boot option. Additionally, ensure the bootable USB is properly created and recognized.